Using the designer | |
| Prev | Next |
First of all, we'll add a new .ui (user inteface) file to our project. ui files are created with Trolltech's designer to generate user interfaces for our application. To do so, open the New file tab at the left side and select A new widget. The name of the file we'll add is centralviewbase.ui .
You'll be shown a dialog to configure the new file added to our project (using the Automake Manager). We'll just select to Add new files to our Active Target, and then mark the checkbox at the bottom to always use the Active Target without asking anymore.

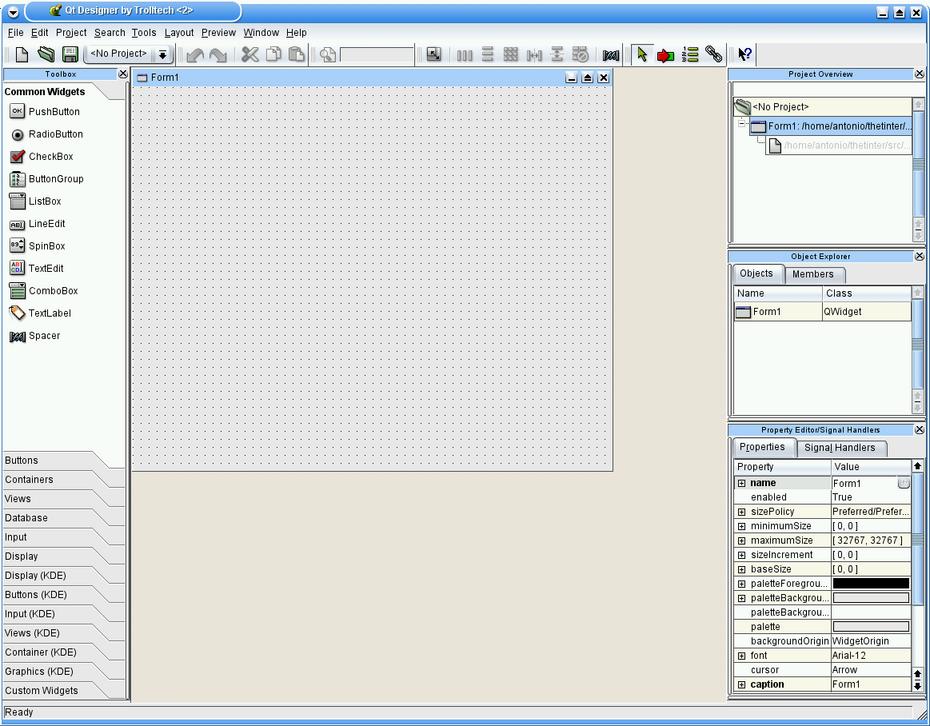
This will open a designer window with an empty widget, to start designing it.
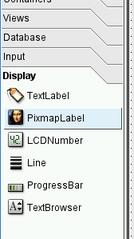
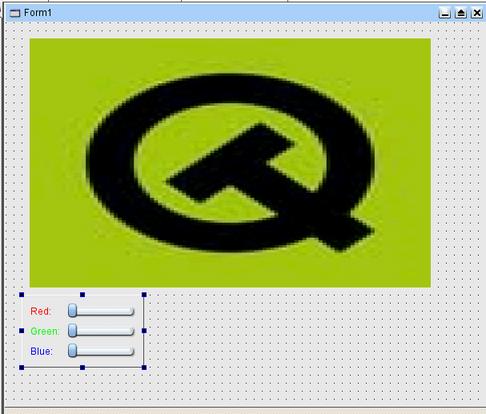
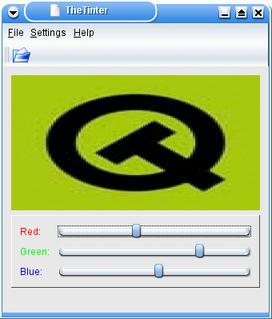
At this point we have to design the look of our application. We'll have the image shown at the top of our window, and three sliders at the bottom to select the red/green/blue component of the color with which we'll tint the pixmap. So our fix step is to select a Pixmap Label (from the Display toolbox) and create one covering the top of our window.
As you may have noticed, I don't have a very good sight to position the widgets correctly aligned :). Even if you think you can do it better, try to preview the result using the Preview Form menu item in the Preview menu and resize the window. The widgets inside our widget are placed in a fixed position and with a fixed size. We sure want to fix that, so we'll add a layout that will take care of positioning and resizing the widgets.
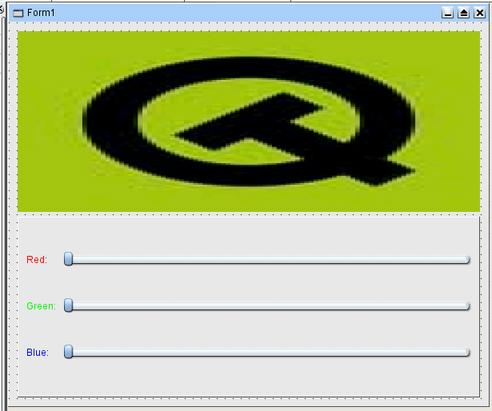
First, click on the frame that contains the sliders and labels and click on the Lay out in a grid button (the one with a 3x3 green grid). This will create a layout for the currently selected container which is a grid layout. The result is :
Ok, the bottom part is mostly ok, we now must realize that at the higher level there are only two widgets, the pixmap label and the frame container. Those two widgets must be lay out vertically, so we click on an empty area of the main widget, and select Lay out vertically from the menu, or from the toolbar (the button with three green rectangles one over the other). The result is:
This time you'll think that it's a strange result, isn't it? Well, it isn't. Both widgets must be one over the other, but the layout subsystem doesn't have a way to know which widget has to get more space than the other, so it distributes the widget height proportionally.
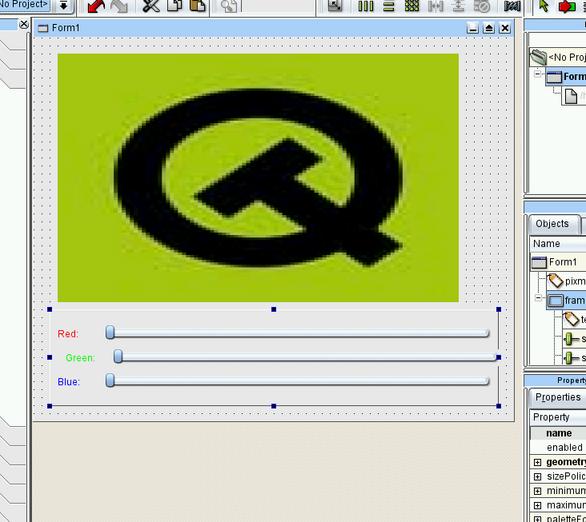
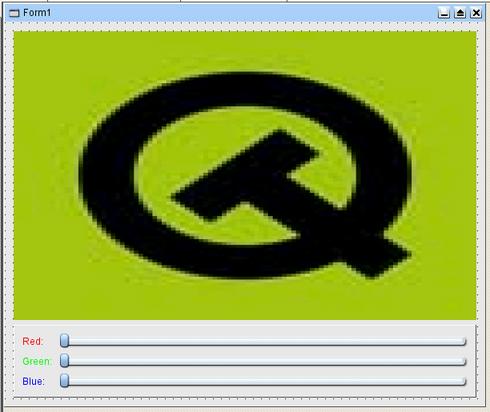
To fix this, we'll change the size policy of the pixmap label to set the vertical size type to MinimumExpanding. Go to the Property Editor window, click on the plus button left to the sizePolicy property and change the vSizeType to MinimumExpanding. The result is now exactly what we wanted:
We're prepared now to go back at kdevelop and start using this class. But first, we have to give it a name. Click on the main widget in the Object Explorer or click on an empty part of the widget (right next to the borders there's usually a small margin which you can use). Then you can edit the name property and use something like CentralViewBase.
Designer is commonly used to create a widget which is the base class for another class where important methods are overloaded. There are two naming schemes commonly used, naming the base class XXXBase and the implementation class XXX or naming the base class XXX and the implementation class XXXImpl. I prefer the former, so that's what I'll use.
Note that kdevelop will automatically generate the needed makefile options so that uic (the User Interface Compiler) generates centralviewbase.h and centralviewbase.cpp files with the needed source code. All that we have to do now is add a new class (Project | New Class...). In the dialog that appears, the name for our new class will be CentralView and we will mark the Generate QWidget child class checkbox, as the class will inherit (indirectly) from QWidget, in fact, we're going to change QWidget (which KDevelop just added as Base Class) to CentralViewBase.
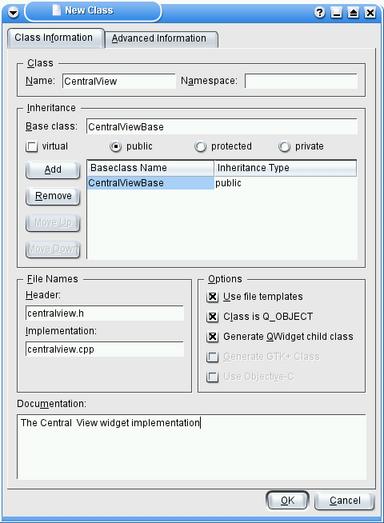
Depending on the release of Gideon that you're using, you may need to go to the Advanced Information tab and modify the constructor manually to call the constructor of CentralViewBase instead of QWidget (just replacing the latter with the former).
Now we add a class CentralView * m_view; protected variable to TheTinterView, and then add a line m_view=new CentralView(this, "centralview"); at the end of the constructor in order to have a CentralView widget as the unique child of TheTinterView. The first parameter (this) means that the CentralView widget will be a child of this widget, which means that it will appear inside this widget in the screen. The second parameter is a metadata name for the object, and you can safely use whatever name you want.
At this time, we're prepared to compile s2 and obtain an application that will use the widget we created with the designer.
| Prev | Home | Next |
| First changes to the sources | Up | Making the Designer generated widget work |