Creating the application | |
| Prev | Next |
We're now going to create a new project for our application. To do so, select Project/New Project. This will open a wizard in which we will select the options for the project.
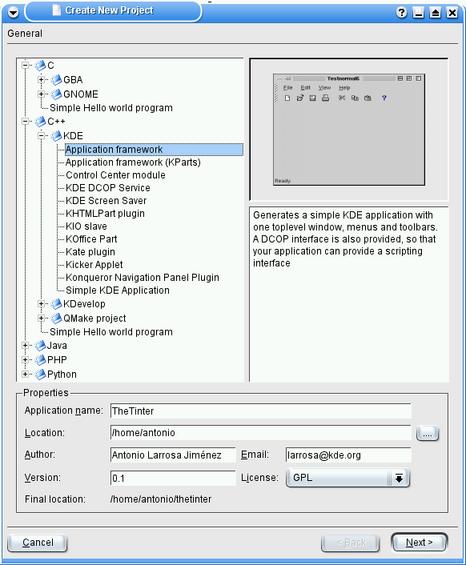
We can use KDevelop to develop C++, C, Java, Python applications or PHP scripts. The "new project" wizard can be used to create a simple application that you can use as a base structure for your application. If you choose to create a C++ application, it can generate (at the time of writing this tutorial) : a KDE application, a KDE application that uses KParts, a Control Center module, a DCOP service, a screen saver, a KHTMLPart plugin, a KIO slave (a protocol implementation), a KOffice part, a Kate plugin, Kicker applet, Konqueror navigation panel plugin, a simple KDE application, a KDevelop part, different only-Qt applications and a simple terminal-based C++ application.
If you choose to create a C application, KDevelop can generate for you the struct of a GameBoyAdvance application, a GNOME application (yes, you can use KDevelop to create GNOME applications), or just a simple terminal-based C application.
If you prefer to use Java, then KDevelop can help you with the structs of an Ant project, a KDE application or a KDevelop plugin, all of them in Java (you can even use the integrated debugger for Java apps). Finally, you can also get the wizard to create for you a simple PHP script, a Python Qt application or a simple Python script.
When clicking on the Next button, we'll be shown the options for a version control system we can use for our project. In order to simplify our example, we will choose None and continue to the next pages, where we can change the template header for our .h and .cpp files. Note KDevelop has used the current year, full name and email address, so you probably don't want to change anything, at least, we won't change anything and just click on Finish.
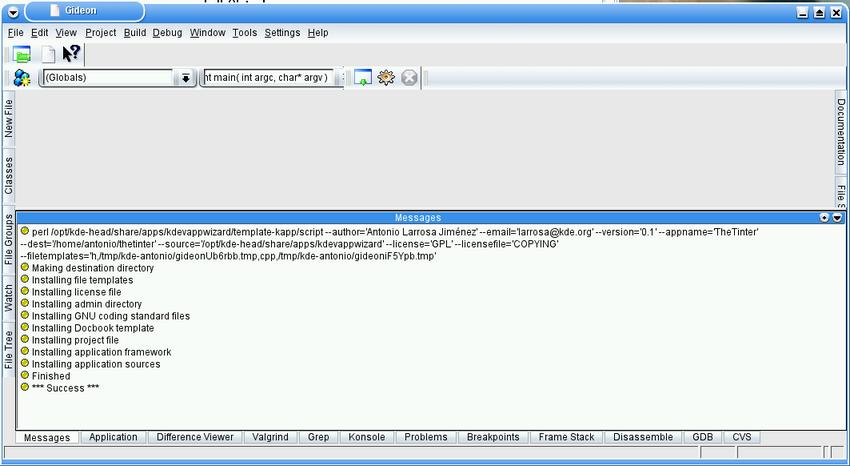
Now KDevelop creates the project for us, and we're ready to start developing our application over the basic structure.
The following screenshot shows an empty kdevelop window with an IDEAL interface. You can change the user interface to some other classic modes in the Settings/Configure Gideon menu, under the User Interface section, but I'll use the IDEAL interface on this tutorial. Note that the features of KDevelop aren't modified by selecting another interface, so choose the one you feel more comfortable with.
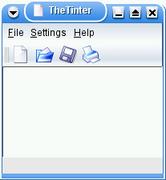
Now that a good part of the application is done, we're going to compile it. Click on Build/Build Project, after a while (and in case you don't have any error because of missing or incorrectly installed required packages), you'll get an application compiled which you can run with Build/Execute program, similar to the next screenshot:
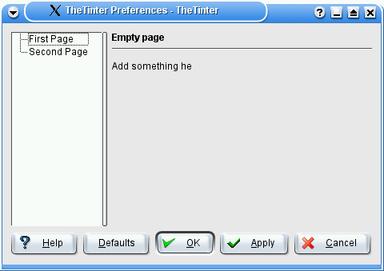
The application also has the standard menus, and a preferences dialog prepared for you to add options there. Something like this:
Let's look now at the source code that KDevelop used. Click on the left Classes label to open the list of classes in our project.
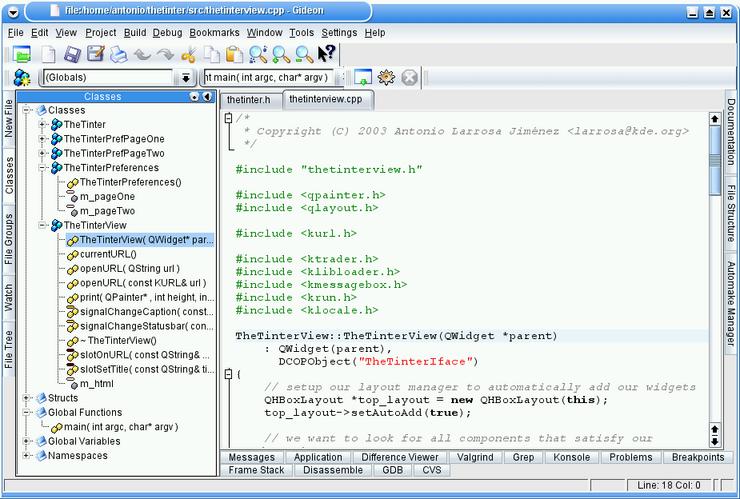
First, we'll have a look at the TheTinter class. This class is the main window of our application and contains the menu, toolbars, etc. TheTinter has some interesting methods that we'll surely use:
load(const KURL &url) is the method that will be called when the user wants to load a document. Note that in KDE you're strongly recommended to use the KURL class to store the url to a document. This way, you don't have to bother with the document being local, in a ftp server, accessed by ssh to a remote computer, etc. The KIO library will take care of everything.
readProperties(KConfig *) and saveProperties(KConfig *) are used to load and save the state of your application (for example, the loaded documents) when the KDE session is being started/shuting down. That way, your users will be able to close their session and when they open it again, they'll find your application in the same state than it was.
setupActions() is used to create the actions and connect them with our slots (if you are not familiar with the concept of signal/slot, please read more about them at Qt's documentation or at my other tutorial. Note that most of the actions used in the template application are standard, so that method has code like KStdAction::open(this, SLOT(fileOpen()), actionCollection()); in order to create a standard action for the file/Open menu which, when activated, emits a signal that is connected to our fileOpen slot.
dragEnterEvent(QDragEnterEvent *event) is used to tell the drag&drop subsystem wether we accept or not a drag&drop event that the user is dragging (not yet dropping) over our window, while dropEvent(QDropEvent *event) is called when the user drops something in our window, so there's where we should process the drop event.
TheTinterView is the central widget of our application, that is, the widget that is below the toolbar and above the status bar. In KDevelop's template, this class creates a KPart component able to read html documents, but we'll remove most of this in the next step of the tutorial, as we won't need so much complexities.
| Prev | Home | Next |
| Downloading and starting KDevelop and Designer | Up | First changes to the sources |